
I absolutely love receiving greeting cards. Greeting cards from family, friends, and even from some of the places I shop! There is just something about them. You can not deny how much love was put into them. When opening up a mailbox or even a package, that one thing that catches my eye is the greeting that comes with it. So, let’s learn more about greeting cards!
You can get started by…
- Browsing through COSMOS and placing a few of these on hold. This is a great way to explore the many genres and greetings you can create.
- Read this article on GALE on how many greeting cards get their special touch.
- Then, create a light up card of your own with these easy steps. You can draw animals or toys. Anything that comes to mind!
- As always, explore Creative Bug for many more ideas!
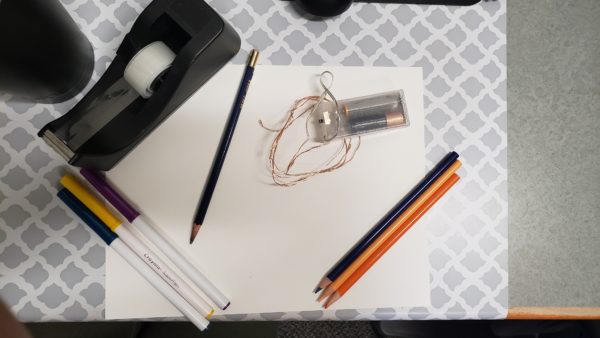
Materials
Directions
Step 1: Gather your materials. I used both colored pencils and markers.
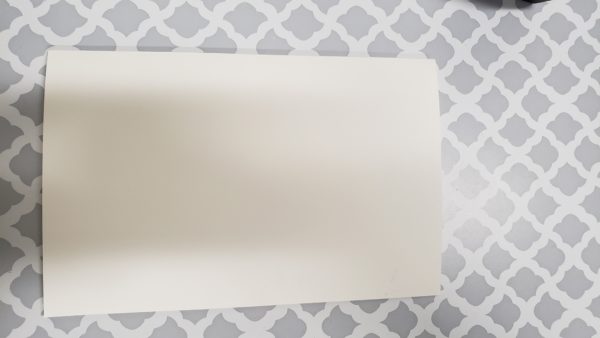
Step 2: Fold card stock paper in half. The size of your paper will decide if you fold it “hotdog” or “hamburger”. You can hold the opposite ends of the paper together and check to make sure you like the size of the card before creasing the edge.
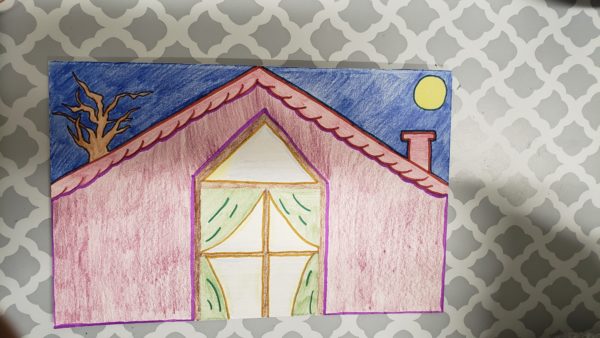
Step 3: Start to draw what you want. I drew a house because it reminds me of all the family getting together under one roof, enjoying all the food, laughter, and jokes. It’s so much fun!!!

Step 4: Here is mine all colored in! How does it look?
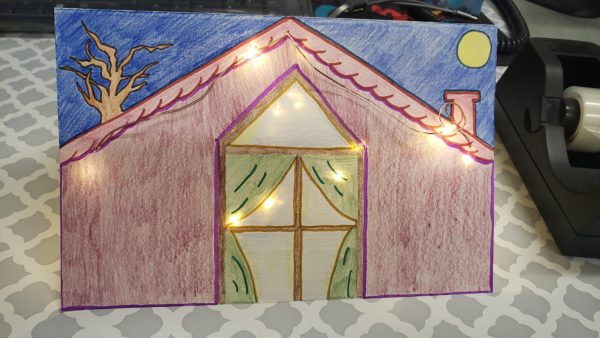
Step 5: You have two options for how you would like to add your lights.
- Have your grown up cut slits (small holes) around the card using the Exacto knife or a pair of scissors. In my example, I threaded the light string through the image and taped the lights inside the card. I used this method on the roof line of my house.
- Or you can tape the lights to the back of the card. I used this way to light up my window.

Happy creating!


