We live in a very colorful world, but what makes it so colorful? Let’s learn a little about color and light and how light makes the world the colorful place it is. (The following information is quoted from The Mad Scientists Club Blog: Program 31: Light & Color from the Cheshire Public Library, where you can find some other great light and color experiments to try at home.)
- When we see a color in the world, we are observing the color that a specific object is reflecting. For example, we see a red apple as red because the apple is absorbing every single color except red. Red light is reflected, and thus that is the color we see for the apple. For another example, if you are wearing a green t-shirt, you and everyone around you see it as a green shirt because it absorbs every color except green; green is reflected, and thus that is the color we see.
- White is all colors reflected; black is all colors absorbed.
- Black absorbs all colors and converts that light to energy or heat. This is why wearing a black shirt on a sunny day makes you much hotter than if you wear a white shirt. Or why sitting in black car in the sun is much hotter than sitting in a white car.
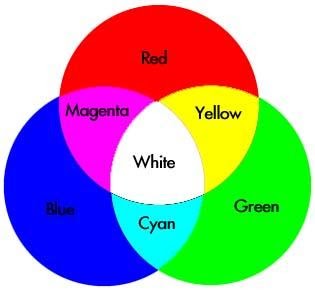
- Colored light behaves differently than colored pigments and dyes. Most of us have heard the phrase “yellow and blue make green” before, right? And that’s true, at least for dyes/pigments. If you had yellow and blue paint, they would indeed mix together to make green paint. But what about yellow and blue light? For light, the primary colors are red, blue, and green. So, no colors combine to create green. But green and red light will combine to make yellow light. Or red and blue light will combine to make magenta light. Check out the color wheel below to see what some possible colored light combinations are.
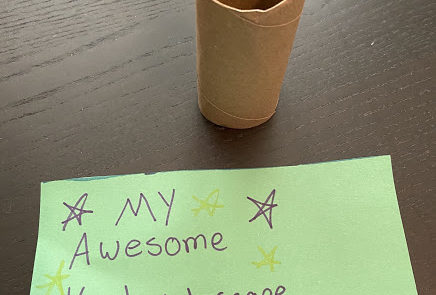
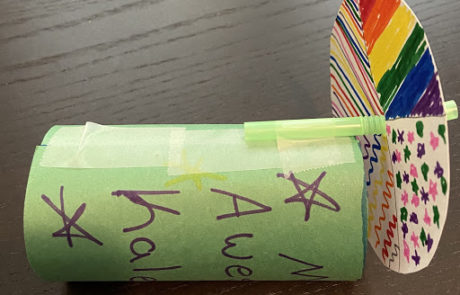
Now let’s have some fun by making our very own Kaleidoscopes!
Materials Needed:
Steps
Step 1: This step sounds very complicated but we promise you can do it.
Determine the size the mirror board needs to be by measuring the length and diameter of the cardboard tube you are using. The mirror board will be folded into 3-sided, in the shape of a triangular prism. I’ll save you the geometry involved in determining the length of each side of the triangle and tell you to just multiply the diameter of your tube by 0.866. It is best to measure in millimeters. So if your tube is 100 millimeters long and the diameter is 40mm (this is the size of most toilet paper tubes), multiply 40 x 0.866 = 34.64 to find one side of your triangular prism. Now multiply that by 3, so 3 x 34.64 = 103.92 to find how wide to cut your mirror board. We are going to round up to the next whole number so now we know we need to cut a piece of mirror board that is 104mm wide and 100mm long.
Step 2: Once you have cut your mirror board on the back non-shiny side measure and draw a line each 35mm to show where to fold the mirror board.
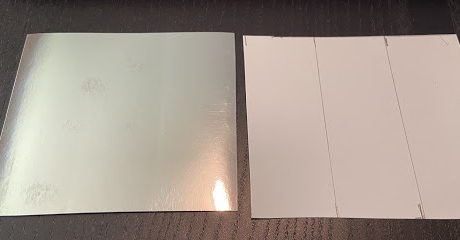
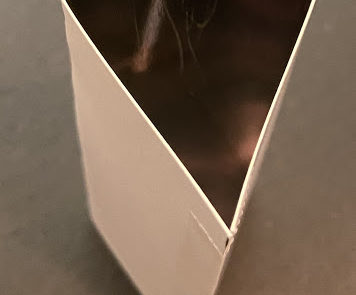
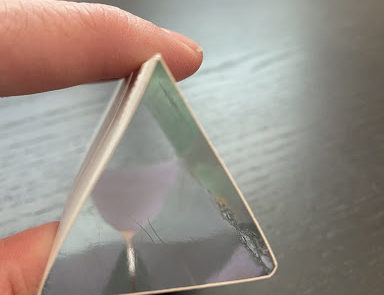
Step 3: Fold the mirror board along the lines with the shiny side facing in and tape the edges together to make a triangular prism.
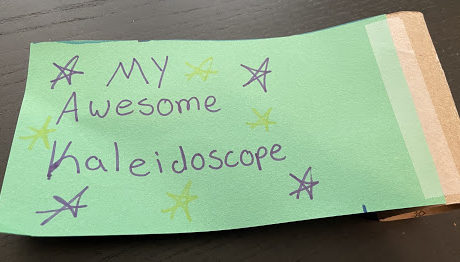
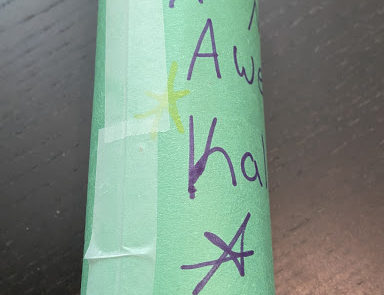
Step 4: Cut a piece of paper to the length of your tube then draw whatever you want on the paper to decorate your kaleidoscope. Remember there will be some overlap at the ends. You can just draw directly on the tube if you want.
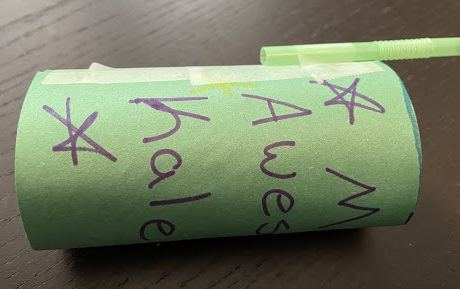
Step 5: Then to apply it to the tube tape one end to the tube to secure, and also apply some glue to the underside of the paper as, then roll up tightly, and secure the other end with tape. Stickers can be applied now if desired awesome
Step 6: Now, take the piece of mirror board and carefully insert into the cardboard tube; it should fit snugly.
Step 7: Trim ends of a straw so that there is about 1/2″ past the flexible portion of the straw on one end, and 2-3 inches preceding it on the other. Extend the flexible part, then tape the straw to the outside of the tube so that the flexible portion extends just past the end of the tube.
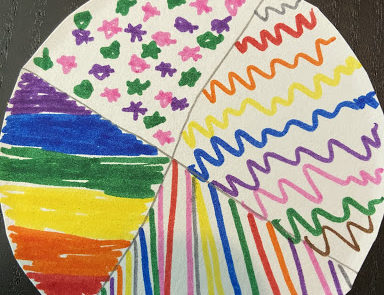
Step 8: Cut a 3 or 4 inch circle out of cardstock then make designs on the cardstock circles using markers. Experiment with different patterns, either dividing the circle into sections with different patterns, or doing the whole circle in the same pattern, you can use both sides, just make sure to use more than one color.
Step 9: Poke a hole in the center of the circle with a pencil, and carefully thread it onto the flexible portion of the straw, the accordion folds help keep it in place.
Step 10: Stand in a well-lit area, and hold the kaleidoscope up to your eye with one hand, look through while turning the circle with the other.
Resources
To learn more about Light and Color check out some of these great ebooks:
Light Makes Colors by Jennifer Boothroyd
Light by Carolyn Bernhardt
Light by Georgia Amson-Bradshaw


