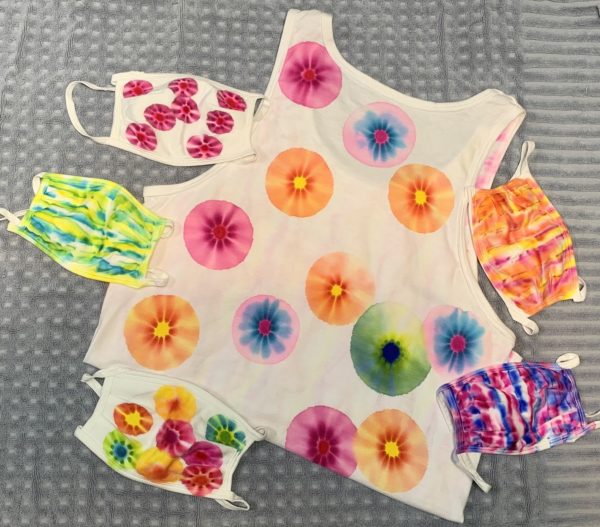
This is a super fun and easy project to do yourself or with your children. It only requires two main supplies – Isopropyl rubbing alcohol and colorful Sharpie markers. I decided to decorate both a plain white cotton tank top as well as a few cotton face masks. Show off your creativity and proudly wear your designs all summer long.
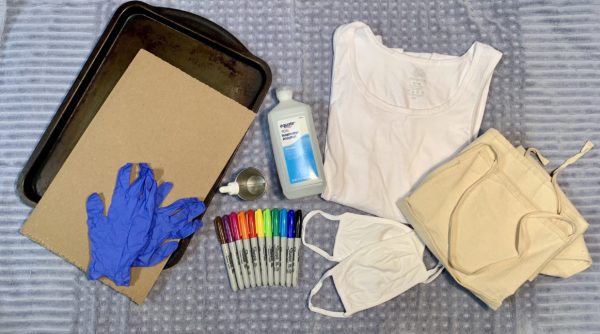
Materials:
Tank Top Directions:
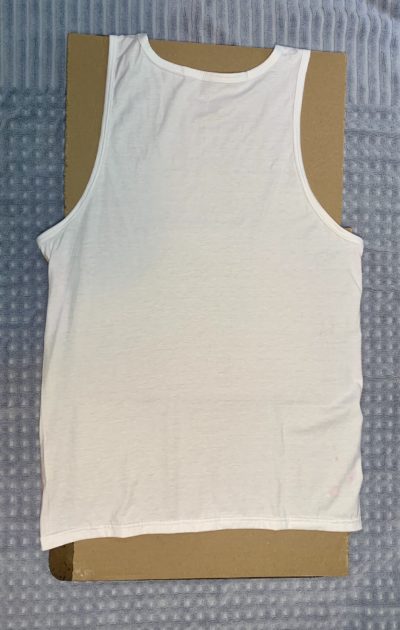
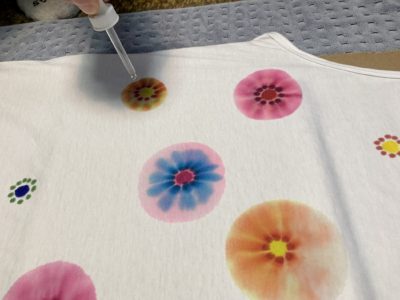
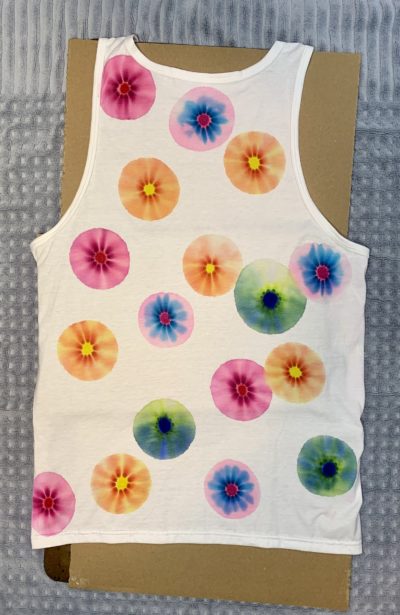
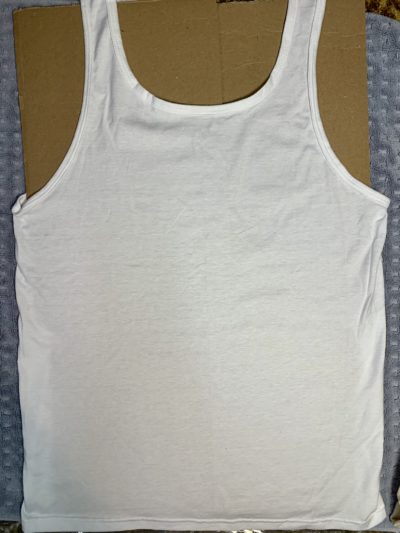
Step 1: Let’s start with the tank top. You might want to wear an apron to protect your clothes, as well as vinyl gloves to protect your hands or manicure. Choose fabric that is light in color (white or beige), plain with little to no logos or designs, and preferably 100% cotton. I took my tank top and stretched it over several sheets of cardboard as well as over cookie sheets (this was to ensure that the Sharpie ink did not bleed through to the other side, while making my designs). I decided to make abstract flower designs and pressed down hard to make dots (saturating the fabric with the ink) creating several different colorful flowers.
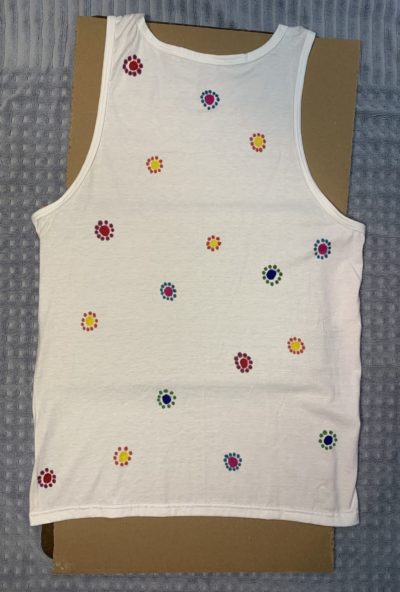
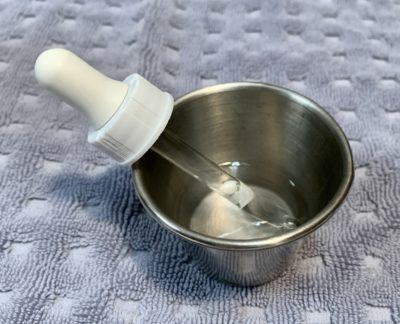
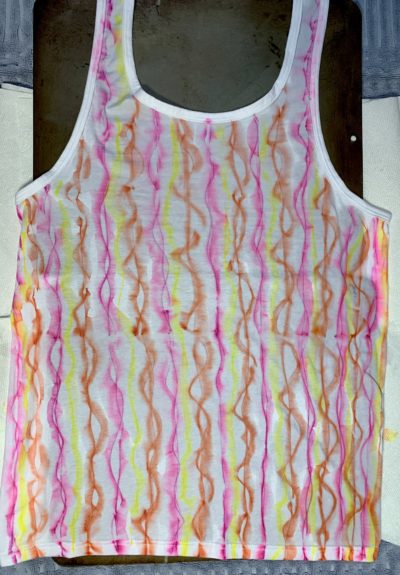
Step 2: I poured a small amount of alcohol into my cup, and used my eye dropper to fill it with alcohol. If you don’t have an eye dropper, feel free to use a small spoon, and slowly squeeze/dribble alcohol over your designs. The more alcohol you use, the more the ink will bleed out and expand (as evidenced by my abstract flowers turning into large circles).
Step 3: PRO TIP: You might want to have some paper towels on hand, to catch any unexpected spills, or spread out under your creations (so they can begin to dry).
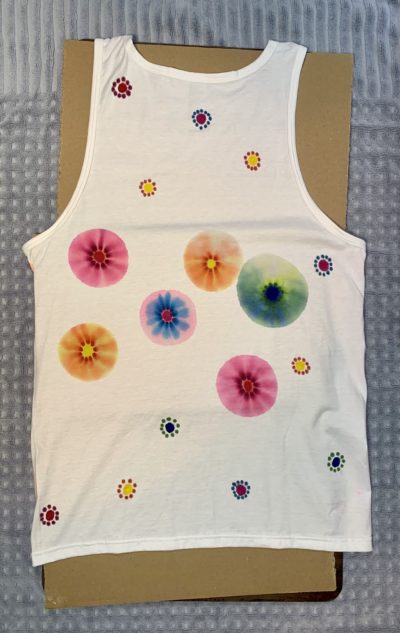
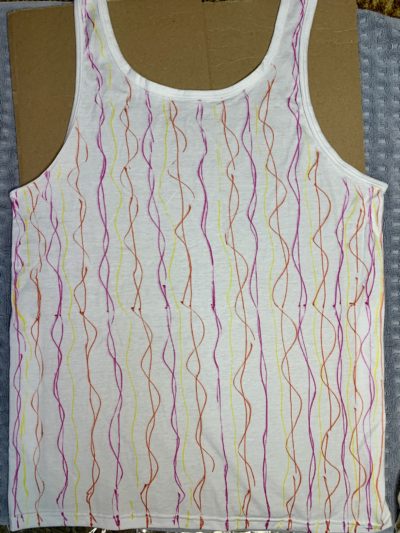
Step 4: Next, I flipped the tank top over and decided to do a different, free form design on the reverse side – some wavy vertical lines using three different colors (yellow, fuschia and orange). As you can see, when I squeezed the alcohol over the lines, they expanded both vertically and horizontally, giving it a classic tie-dye appearance.
Mask Directions:
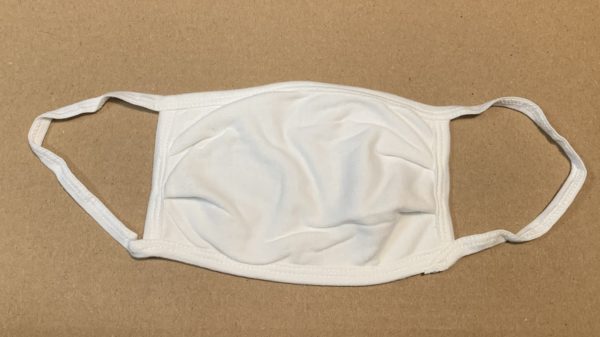
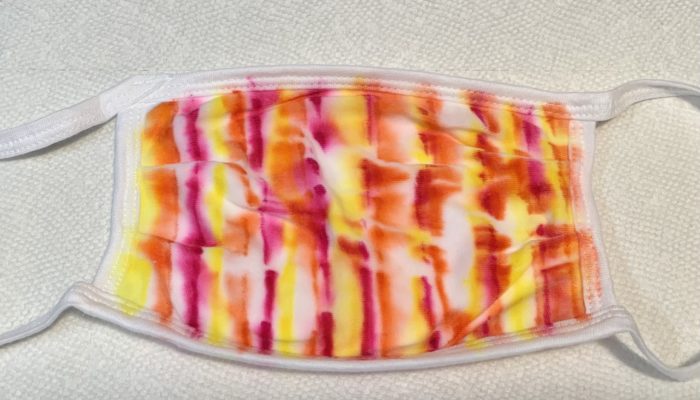
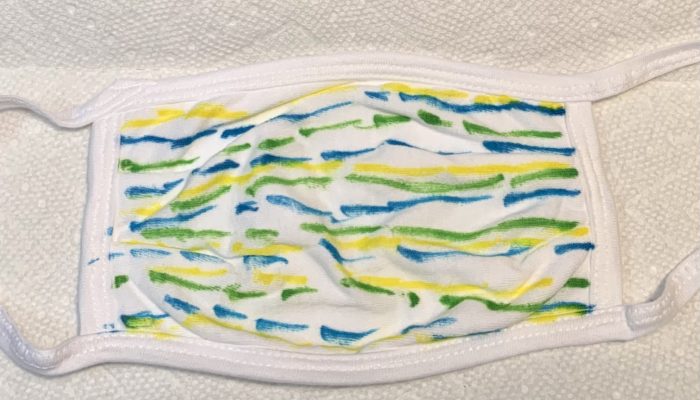
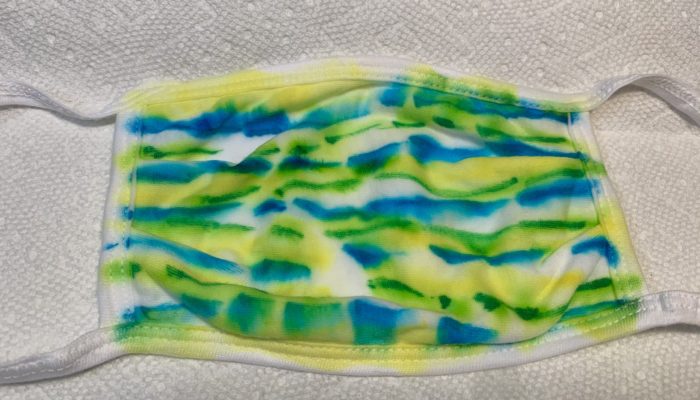
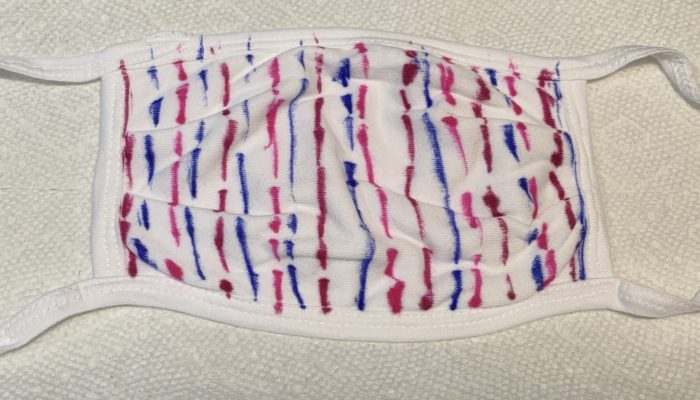
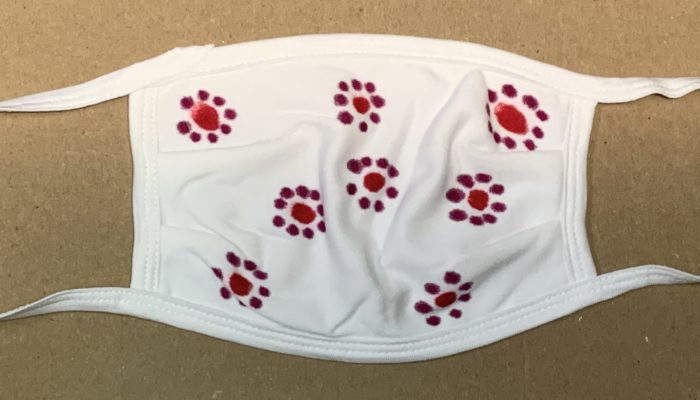
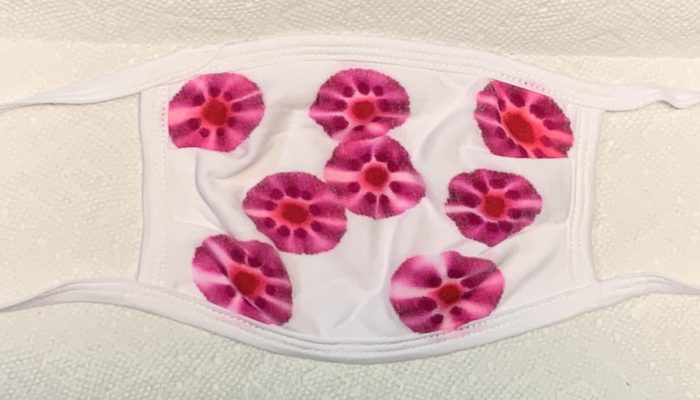
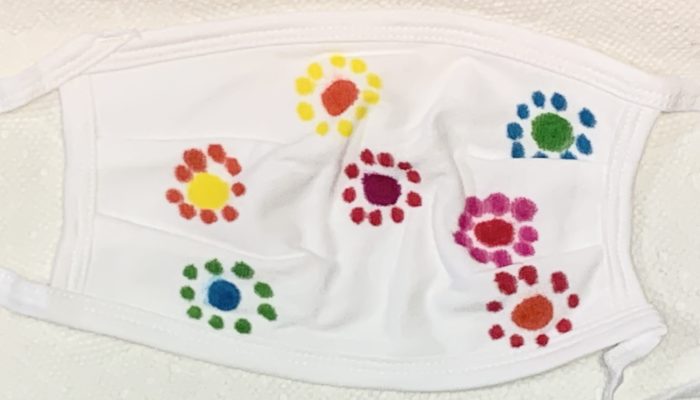
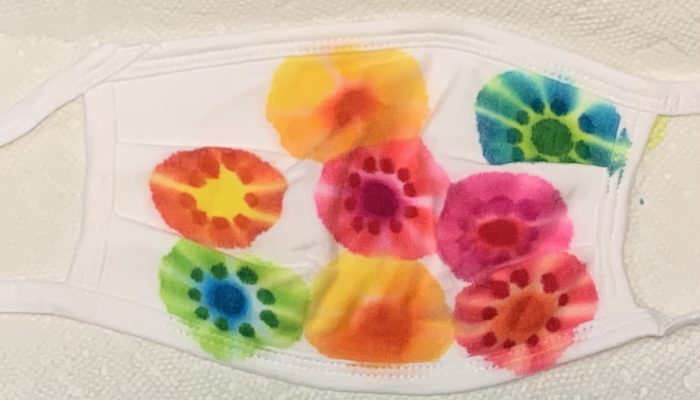
Step 1: For my cotton face masks, I used the same method (I placed the cotton mask on a piece of cardboard you can also position a paper towel between the cardboard and mask) and I began to draw a different design on each. I decorated each face mask with different designs and colors (the ‘before’ and ‘after’ photos are below).


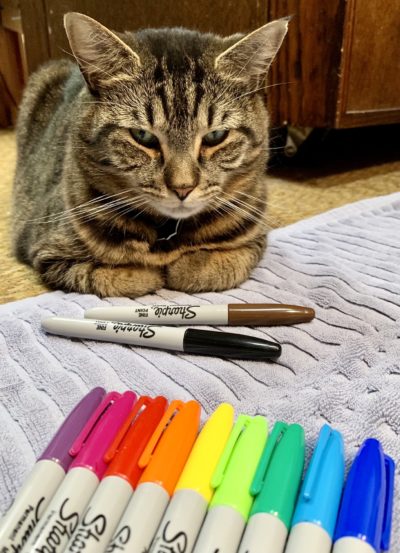
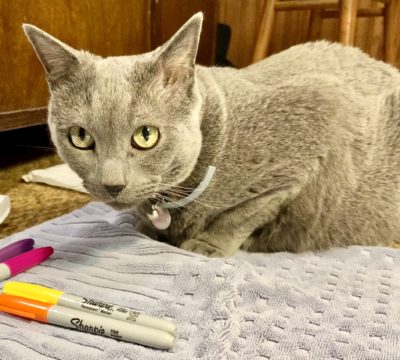
My loyal craft assistants
Resources
For more inspiring crafting ideas, please visit CCPL’s newest free crafting database, Creativebug
You can also check out our CCPL catalog for more information on fun summer crafts such as:
