With summer coming to a close, now is the time to preserve the bright colors to remind us of warmer days during the cold winter. So let’s discuss the methods of drying and displaying dried flowers and other plants. Below you will find different methods for drying/pressing plants and ideas on how you can use them!
Pressing methods
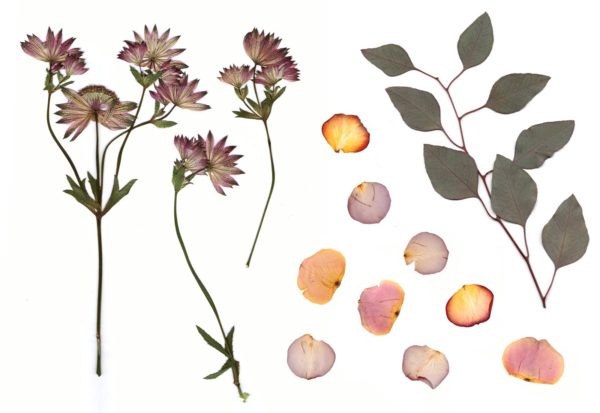
Pressing flowers means they are flattened out during the process and do not preserve their natural shape. These flowers are typically very thin once they’ve been pressed and are quite delicate. Pressing individual petals is also a good idea if you have larger, rounder flowers.
Below are two different methods for pressing flowers. You can press them in a book. Or for a faster method, you can try pressing them in the microwave.
Drying methods
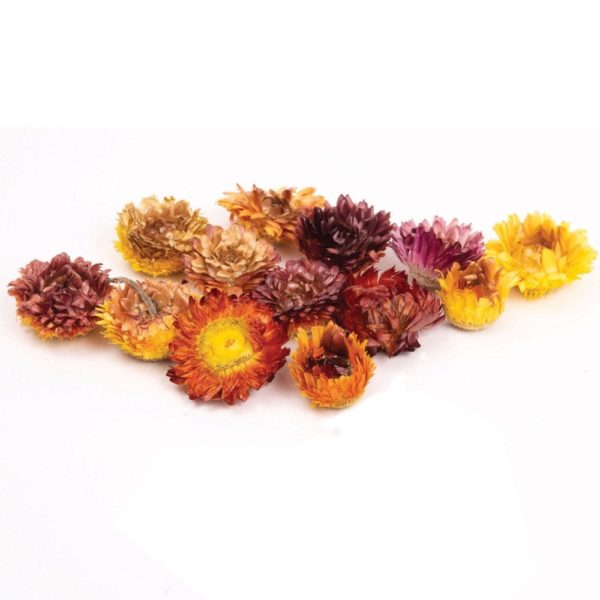
Drying flowers means the flowers will keep their natural form. It is best to dry flowers that are larger and rounder as they are more difficult to press. If you don’t want your flowers flattened and would rather have them fully formed, try these methods.
Ways to Use your Flowers
Now that you’ve pressed or dried your flowers, let’s look at some beautiful ways to use them!
Materials:
- Dried flowers
- Vase
Instructions:
- Once your flowers have finished drying, display them upright in a vase to enjoy through the year.
- Optional tip: Spray your dried flowers with hairspray lightly to hold them together better.
Materials: 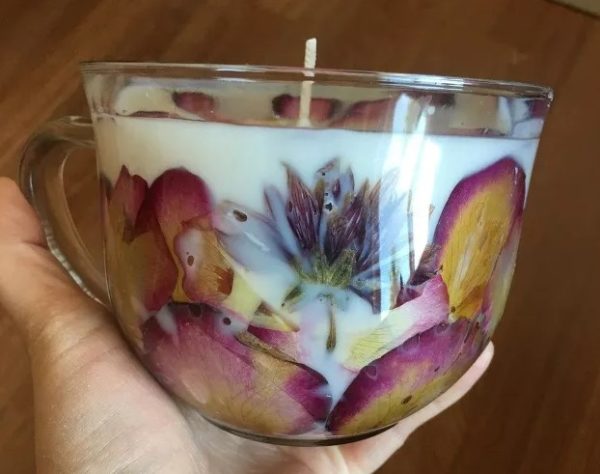
- Wax
- Pressed Flowers
- Glass container
- Wick
- Paintbrush
- Wick holder
- Water or Modge Podge
- Essential oil (optional)
Instructions:
- Place your dry wax into your glass container to determine how much you need. Then place that amount in a pot to melt into liquid.
- Lightly brush the inside of the container with water or modge podge, then stick your petals on the inside of the container. They should stick to the wet glass. Make sure they fully dry before pouring the wax in.
- Once your wax has melted, stir in a couple drops of your preferred essential oil.
- Stick the bottom of your wick into the melted wax, then place in the center of the container. Hold until the bottom of the wick has dried to the container.
- Place the wick holder over the top of the container to hold the wick in place.
- Pour the melted wax into the glass jar and let it harden.
- Once the wax has hardened, cut off the excess of the wick.
 Materials:
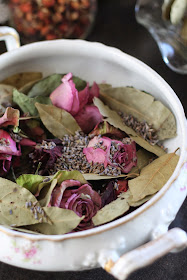
- Dried or pressed flowers (using both allows the fully formed flowers to complement the petals)
- Container
- Fixative (orris root powder, dry lavender, cinnamon stick, nutmeg, etc.)
- Essential oils
Instructions:
- In a large bowl combine the flowers, 5-6 drops of essential oils, and your fixative (if powder or dried try 1-2 tbsp).
- Mix together.
- Place mixture in a sealed container for 4-6 weeks to allow the fragrance to reach its peak.
 Materials:
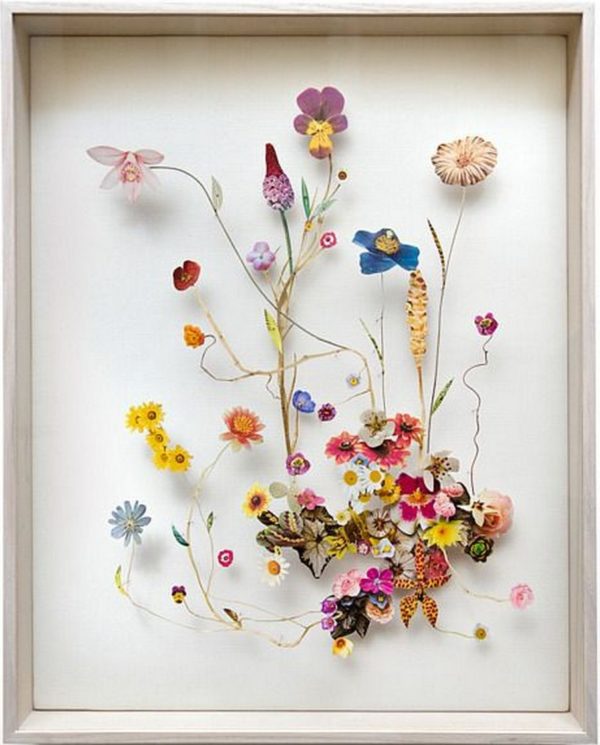
- Pressed flowers
- Photo frame
- Modge podge and paint brush (optional)
Instructions:
- Arrange flowers how you want in the frame.
- If necessary, brush a light layer of modge podge where you want the flowers to be, and place the flowers on top so they do not move.
- Close frame and hang to enjoy!
 Materials:
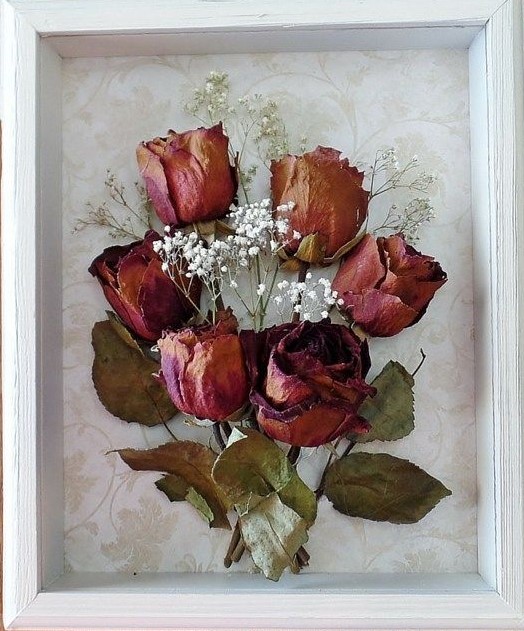
- Dried flowers
- Shadow box
- Straight pins
Instructions:
- Select the flowers you want to use.
- Open your shadowbox and remove the backboard.
- Begin securing and arranging your flowers on the backboard by securing them in place with the pins.
- Once you’re happy with your arrangement, place the board back in the shadowbox and secure it.
Check out these books to explore more patterns, techniques, and other beautiful ways to preserve flowers and other plants!
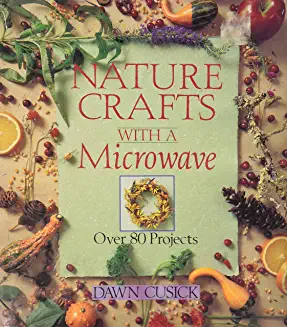
Nature crafts with a microwave by Dawn Cusick
Dried materials lend themselves to any number of crafts, but they generally take so long to dry or are so expensive to purchase pre-dried that some crafters overlook them. Fortunately there is an alternative–armed with this book and your microwave oven, you can preserve all sorts of natural materials quickly and with relative ease, not only flowers but fruits, vegetables, grasses, nuts, seeds, mosses, and even popcorn. Once you’ve mastered microwave drying, proceed to the book’s nicely handled project section for ideas on using the elements in wreaths, sachets, wall hangings, baskets, and more.
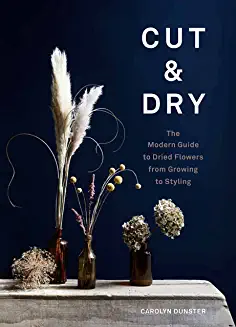
Cut & dry : the modern guide to dried flowers from growing to styling by Carolyn Dunster
Dried flowers are a beautiful, low-maintenance and sustainable way to bring nature into your home. In Cut & Dry, expert floral stylist Carolyn Dunster breathes new life into this age-old art and shows you how to extend the life of your favorite plants and create stunning seasonal displays, with 10 projects to try yourself
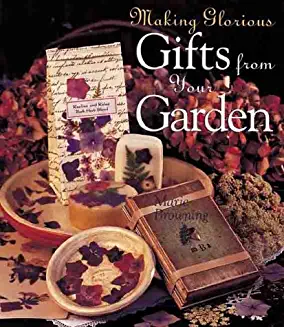
Making glorious gifts from your garden by Marie Browning
Includes how to instructions for: bath oils, bath herbs, floral waters, and facial scrubs; potpourri, sachets, and pomanders, as well as scented cleaners for around the home; greeting cards, coasters, and decorated soaps; using twigs to make easels and decorate frames and using vines to weave into wreaths.
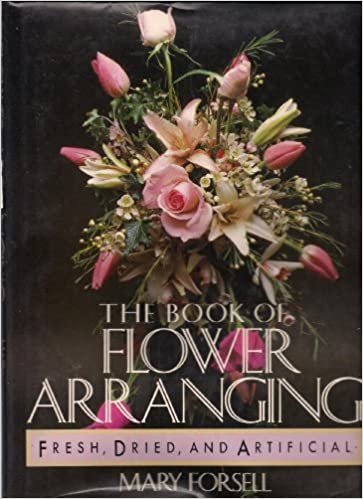
The book of flower arranging : fresh, dried, and artificial by Mary Forsell
This beautiful guide is filled with an array of fresh, dried and artificial flowers that reflect the unlimited and innovative possibilities in decorative flower arranging. A practical hands-on guide and a lovely browser’s book.
Hoopla
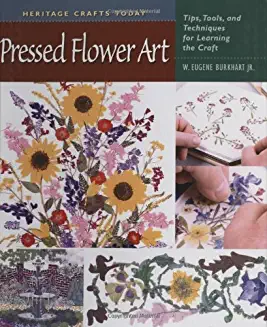
Pressed Flower Art by W. Eugene Burkhart
The art of using pressed and dried flower materials to create pictures and designs has been popular throughout history in cultures around the world. Acclaimed artist W. Eugene Burkhart Jr. passes the craft on in this comprehensive, full-color, how-to guide, sharing information on tools and materials, detailed step-by-step instructions and close-up photographs, and an assortment of projects, patterns, and design ideas for making botanicals, whole flower designs, and intricate cutwork pictures.
OverDrive
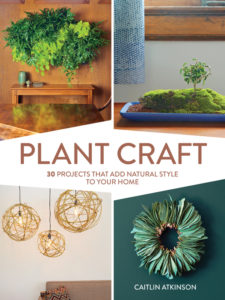
Plant Craft by Caitlin Atkinson
Not everyone has a garden—but with only a handful of materials and a little bit of time, everyone can bring the beauty of nature into their home. Plant Craft features projects inspired by the natural world and made out of live plants, cut flowers, foraged branches, and more. You’ll learn how to create a colorful floral mural, an elegant table centerpiece, a serene underwater sculpture, a whimsical mobile, and more. The step-by-step instructions are clear, easy to follow, and fully illustrated with color photographs, and the projects vary in difficulty. Given the right care, they all have the potential to grace a home for a long time.

