
July is filled with all kinds of fun activities! The Fourth of July, picnics, pool visits, vacations, camping, and so much more happen during the year’s seventh month. Even though there is so much to do outside, take a moment to cool off inside and celebrate World Watercolor Month.
World Watercolor Month was founded in 2016 to promote and connect watercolor lovers all over the world and to support children’s creativity in the arts.
What is watercolor paint, and what is it made of?
Watercolor paints are water-soluble and made from pigments suspended in a water-based solution. They consist of pigments and a binder such as gum arabic. Watercolor refers to both the act of painting and the art that is created.
Who first invented it, and where?
The earliest forms of water-based paints date back to cave paintings and ancient civilizations, such as those in Egypt and China. The development of watercolor as a refined art medium is attributed to Renaissance artists. Albrecht Dürer, a German artist born in 1471, is considered one of the first masters of the technique in Europe. His work, including detailed botanical and wildlife watercolors, established him as a pioneer in the medium. Paul Sandby, Thomas Girtin, and Joseph Mallord William Turner are some of the first professional artists who chose to work with watercolors over oil paints.
Do you have to use special paper?
While any heavy paper will work, 100% cotton paper works best for the absorption and dispersal of paint. Watercolor paper is designed to hold and absorb water without wrinkling or tearing, allowing the paint to soak in and remain vibrant.
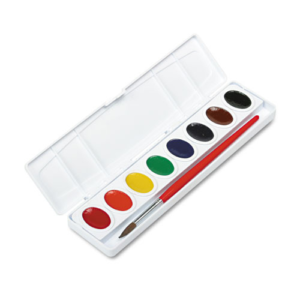
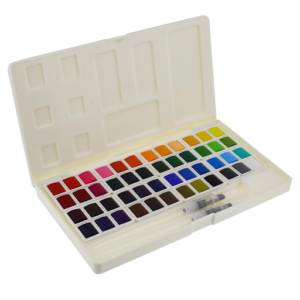
Types or Forms of watercolor paints
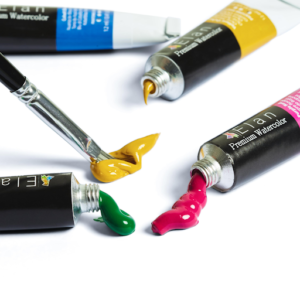
Watercolor dry cakes or pans Tube liquid watercolor
Tube liquid watercolor

Famous watercolor artists and their artwork
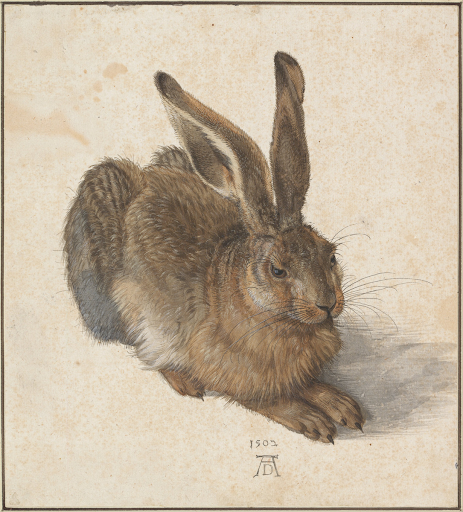
Young Hare by Albrecht Dürer, 1502
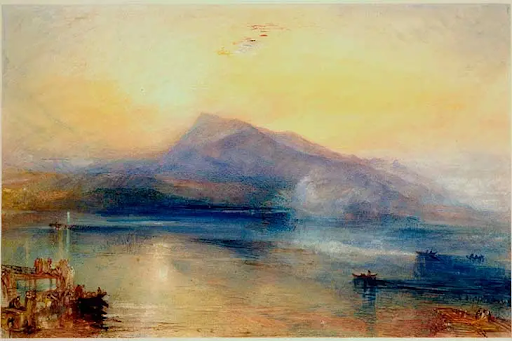
The Blue Rigi by J.M.W. Turner, 1842
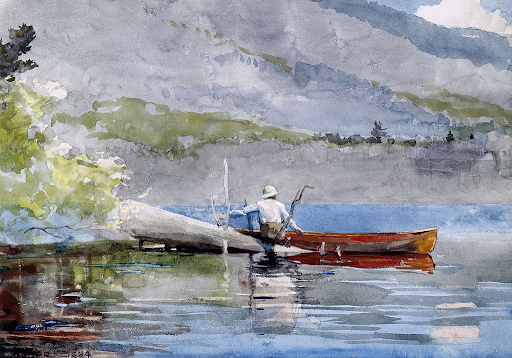
The Red Maple by Winslow Homer, 1892

Venice: The Bridge of Sighs by John Singer Sargent, 1904
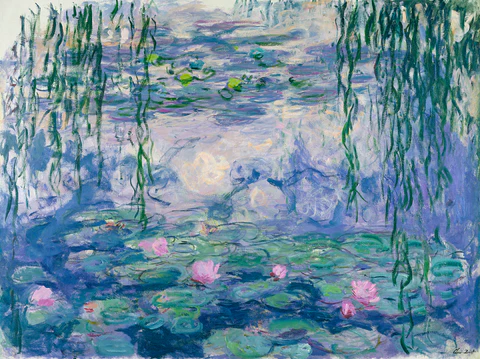
Water lilies by Claude Monet,1916-1919
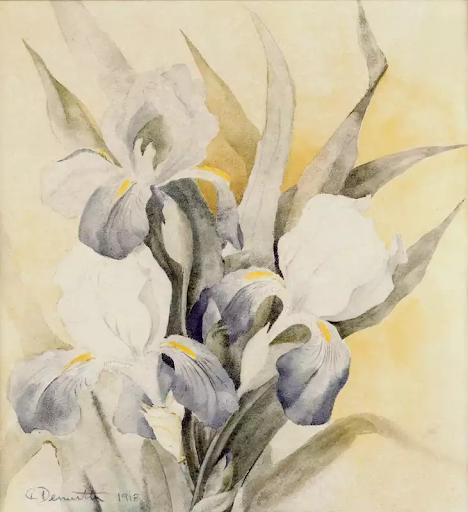
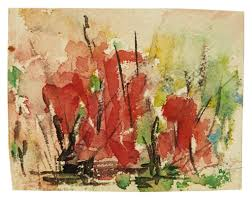
Iris Garden by Charles Demuth, 1920’s
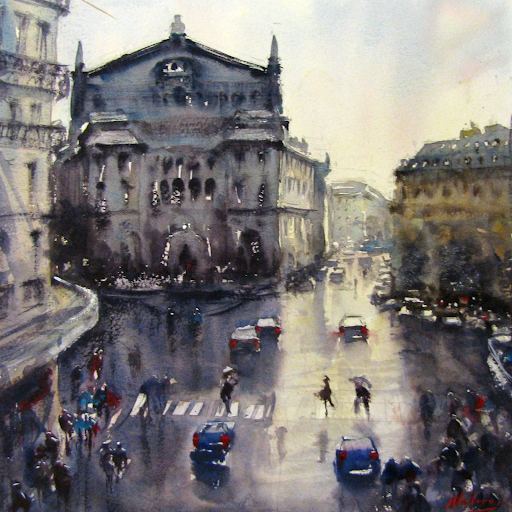
Nadéra Benmansour, Place de Diaghilev, 2016

Wind From The Sea By Andrew Wyeth, 1947
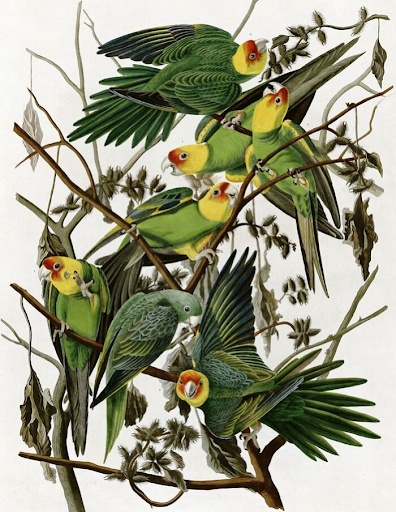
Carolina Parakeet By John James Audubon, 1827
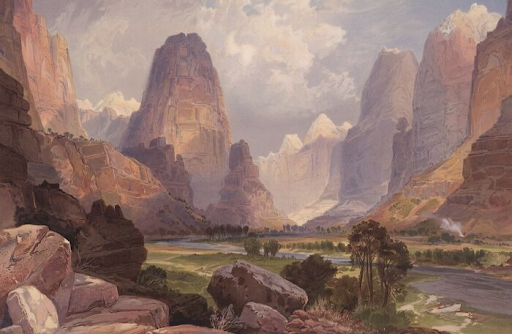
Valley Of The Babbling Waters By Thomas Moran, 1976
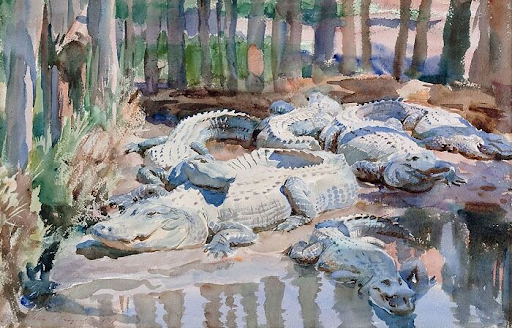
Muddy Alligators By John Singer Sargent, 1917
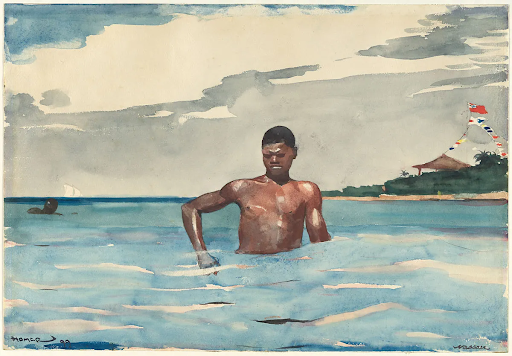
The Bather by Winslow Homer, 1899
Untitled, by Alma Thomas, 1960
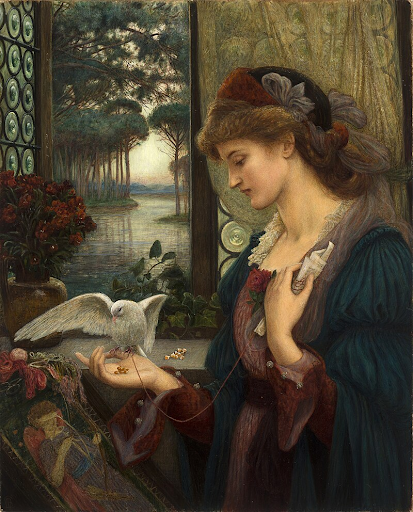
Love’s Messenger by Marie Spartali Stillman, 1885
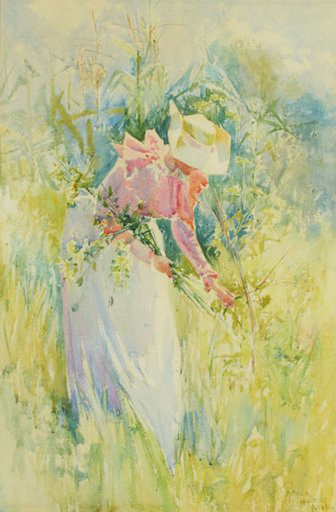
Picking Wildflowers By Rhoda Holmes Nicholls, 1900
Let’s play with paint!
Materials Needed:
Summer watermelon slice
Anyone can watercolor! Here are some easy-to-follow steps that will help you learn some cool techniques to make vibrant, colorful works of art!
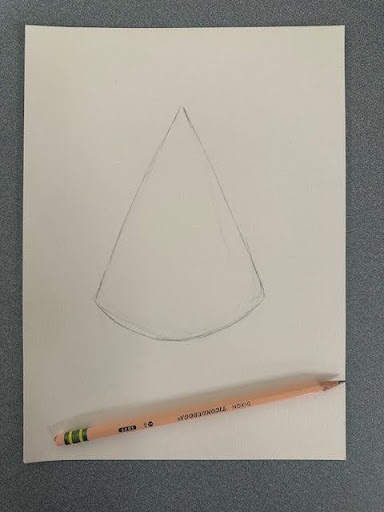
Step 1
Start by taking your pencil and drawing a relatively large triangle in the middle of your paper. Round the triangle’s bottom to make it look like a watermelon slice. Remember to draw lightly, as watercolor does not always cover up pencil lines. If you are worried about the pencil markings showing too much, you can erase them right before you put your paint down.
Step 2
Activate your water colors by spraying them with water.
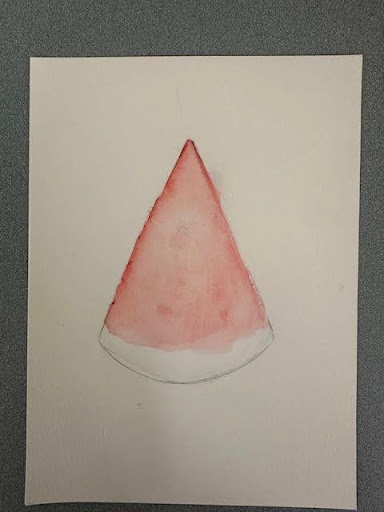
Step 3
Using a wet brush, paint the top of your watermelon either a pink or red color. You can put the color on one side of your picture, then, using a wet brush, pull only the color to the rest of the watermelon slice. You can leave a little white in the pink/red area to act as shading.
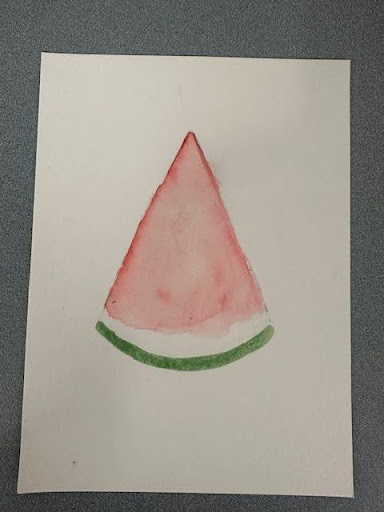
Step 4
Take a dark green color and paint just a line at the very bottom of the slice.
Step 5
Using a lighter green, fill in the space between the dark green and the red of the watermelon. Then use a little black, dropping small amounts on the red part to act as seeds.
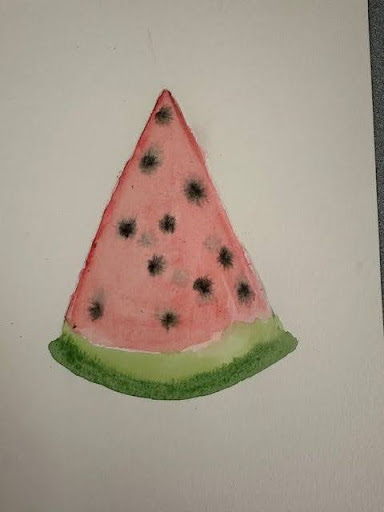
Voila! You’ve painted your first watercolor masterpiece!
