Hello everyone, my name is Ivette Marcucci and I work at the Waldorf West branch as a Public Service Associate. Many of you already know me, because I have been part of CCPL for 14 years, but what many of you may not know is that art is one of my passions. I like to create, paint, experiment with collage, and develop my artistic skills in my spare time.
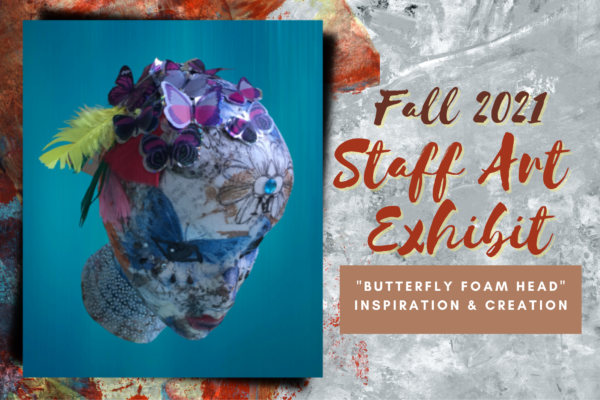
As part of the new art show on display in the Waldorf West Library credenza, I became involved in the task of creating new art, but this time three-dimensional.
For this new program, I came up with the idea of working on several unconventional projects and one of them is the butterfly foam head. I want to share with you how I did it and invite you to come personally to take a look at our exhibition, and maybe make your own!
Get ready, because without further ado, here we go!
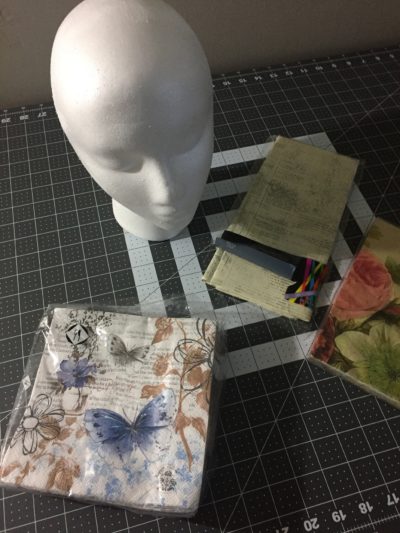
Materials
Directions
Step 1: Start by selecting the tissue paper and removing the underlayers. Working with Mod Podge can be messy, so I would like to recommend covering your area with wax paper.
Step 2: Once you select your tissue paper, use a foam brush to glue it to the foam head (overlapping where necessary), and apply your glue both under and over the tissue paper.
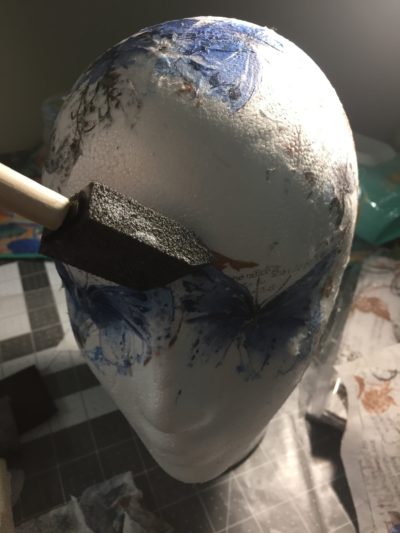
Step 3: When the head is completely covered with tissue paper, let it dry, and apply a second thin layer of Modge Podge over the foam head to seal your work.
Step 4:. Let it dry once again and apply sparkle paint. I used sparkle spray paint for this project.
Step 5: Outline the shape of the eye and mouth using your acrylic paint markers or acrylic paint.
Step 6: I used acrylic white paint to fill in the whites in the eyes and used black paint markers to draw the pupils.
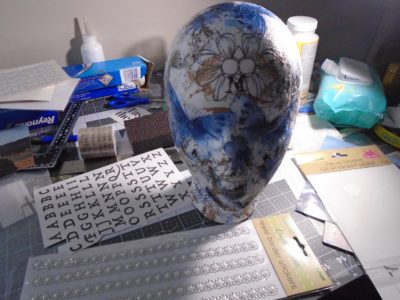
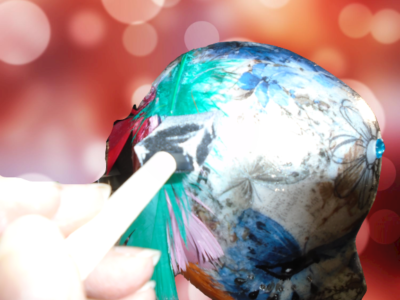
Step 7: Use your decorative stickers or use your imagination and paint to decorate your foam head. Nothing can go wrong!!
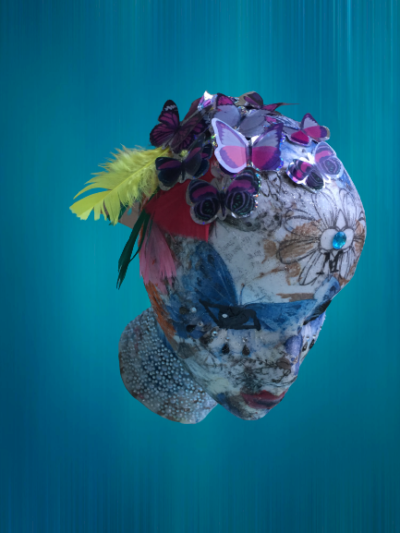
Step 8: Congratulations! Your artwork is ready now!
For Further Inspiration:


