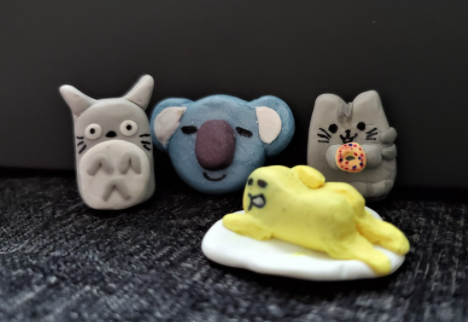
Are you looking for a fun art project to keep you busy at home? How about trying a fun Fandom Clay project. Clay is lots of fun to work with and experiment with. I have included all the instructions to make some of your favorite fandom characters out of clay. This project is easy enough for a beginner and fun for everyone, no matter what your skill level is. They can also make a unique gift to give to a fellow fandom lover.
Materials:
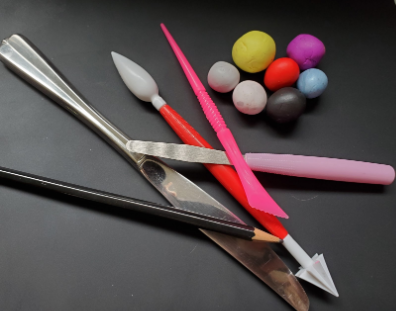
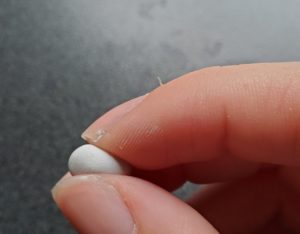
- Clay: Can be polymer clay (baked) or air dry clay. (I used Super Sculpey and Fimo clay which you have to bake in the oven)
- Colors: You can just have the basic colors: white, black, red, blue and yellow and mix colors or buy each individual color.
- Totoro: gray and white
- Koya: blue, white and purple
- Pusheen: gray, dark grey, black *Optional: white or light yellow for donut
- Gautama: Yellow and white
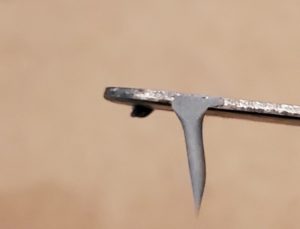
- Tools: You can get a set of clay tools or a butter knife and sharpened pencil/pen can also work.
- Permanent Marker: I used a black sharpie.
Mixing Clay
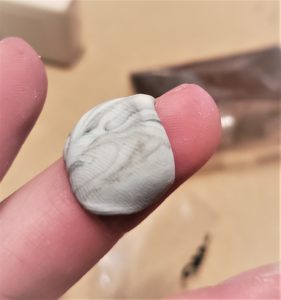
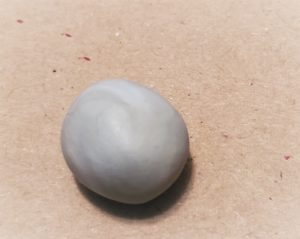
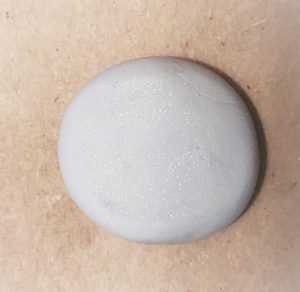
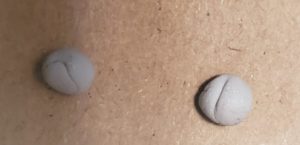
You can make different colors by mixing two colors together. As long as you have the primary colors and black and white you can make any color you may need. In this tutorial, I will show you how to make gray.
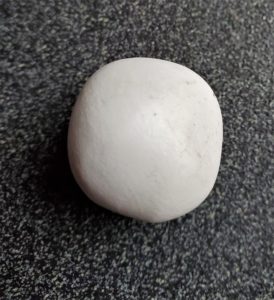
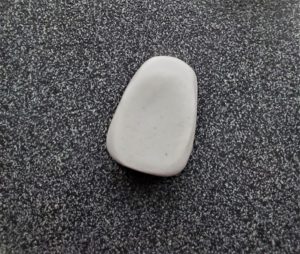
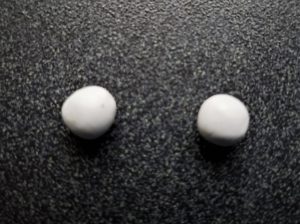
Step 1: Grab some white clay and add a pinch of black. (How much black you add depends on how dark you want the gray.)
Step 2: Mix the two colors together by folding and kneading the clay until you get one solid color. At first you will see swirls of different colors, just keep going until it is one solid color. If you don’t have the color you want add more of one color and repeat above step. (Ex: If this gray isn’t dark enough, I’ll add more black or if it’s too dark I’ll add more white.)
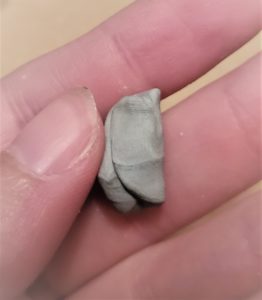
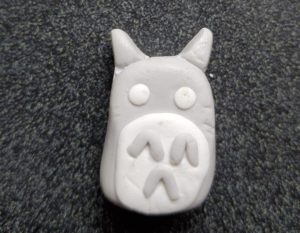
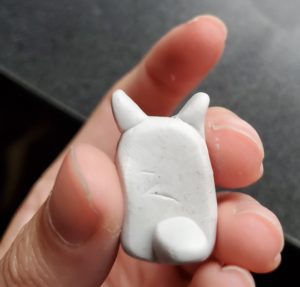
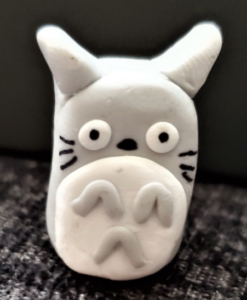
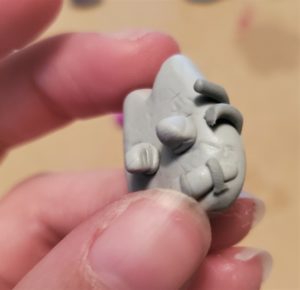
Totoro
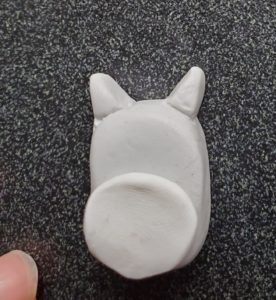
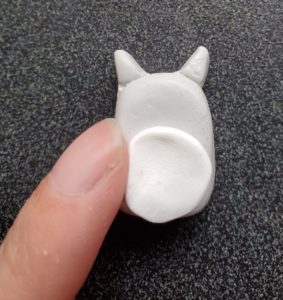
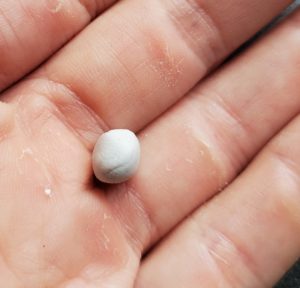
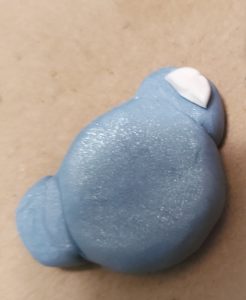
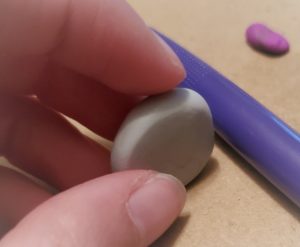
Step 1: Body: Grab some gray clay and create a ball and then flatten and shape it into an oval with the top a little more narrow. Make sure you leave some gray to create ears, tail and fur. (If you only have white and black clay, you can mix them to create gray follow the mixing directions above.)
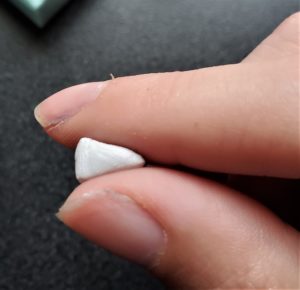
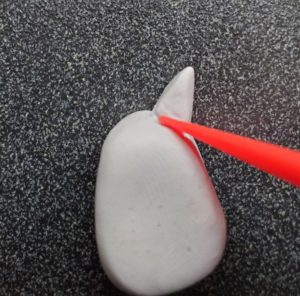
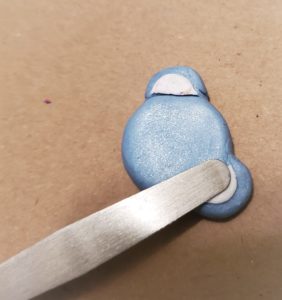
Step 2: Ears: Create two small circles of gray clay for the ears. Then use your fingers to make triangles and place them on the head of the body. Use something pointy to smooth and blend the triangles onto the head.
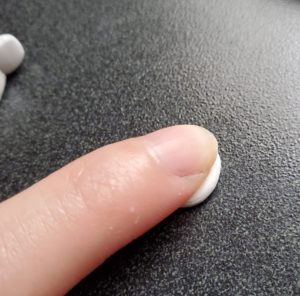
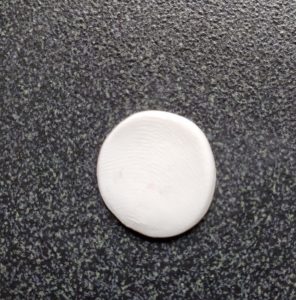
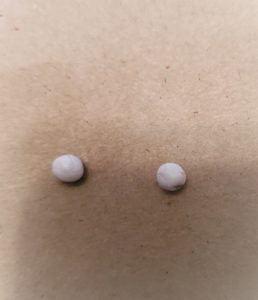
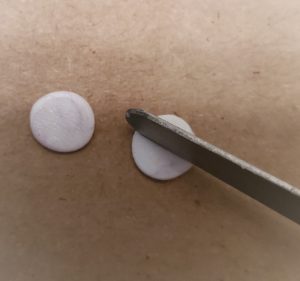
Step 3: Belly: Roll a small white circle and then squish it flat. Then put it on the body, push down on it and flatten the sides and bottom.
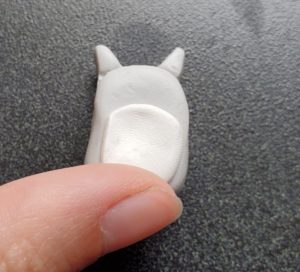
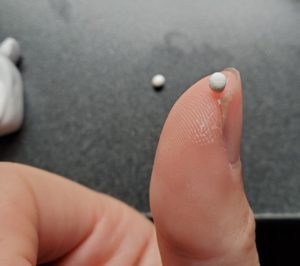
Step 4: Eyes: Using the white clay roll two tiny circles, then place them on the top of the head and squish them down.

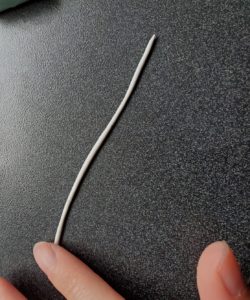
Step 5: Fur: Take a little bit of grey clay and roll it out long. Cut it to form 3 strips and fold them into triangles. Then place them on the white belly putting two on top and one on the bottom.
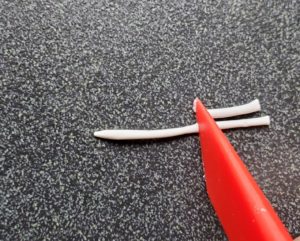

Step 6: Tail: Roll out a grey ball and make it into a triangle. Stick it on the back for the tail.
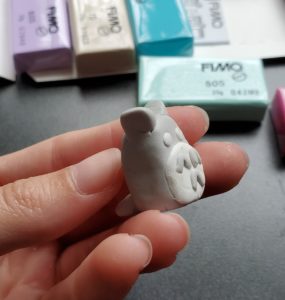
Step 7: Details: After it is either baked or air dried (which will depend on the clay you use), you can then add the details. I used a black marker to add the eyes, nose and whiskers.
Koya
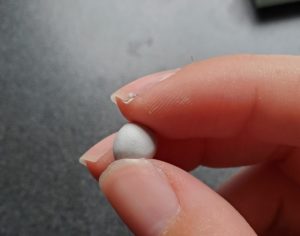
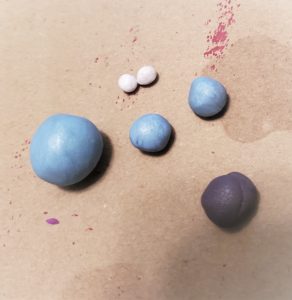
Step 1: Roll out one big ball of blue, two small blue balls, one tiny white ball and a medium purple ball.
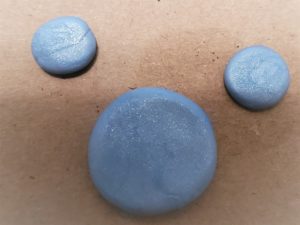
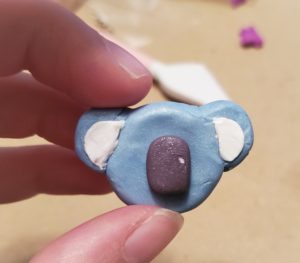
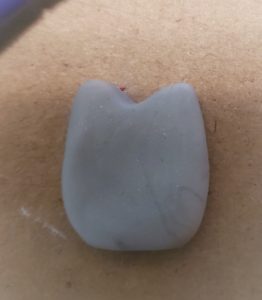
Step 2: Head: Use the big blue ball for the head and squish it down to make a flat circle.

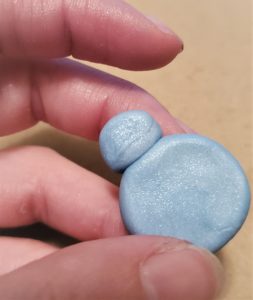
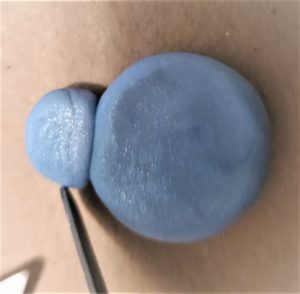
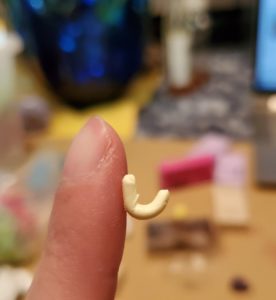
Step 3: Ears: Take the two small blue circles and slightly squish them down. Then you will put the ears on both sides of the bigger circle. Use your knife to flatten the sides of the smaller circles and smooth them on to the bigger circle.
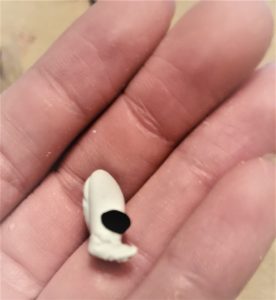
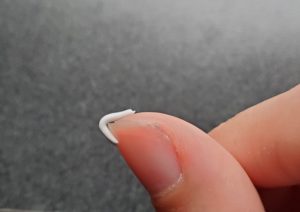
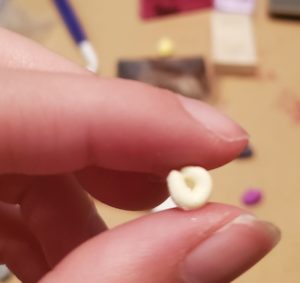
Step 4: Inner Ear: Use the small white circle and squish it down, then cut it in half. Put each half onto each inner ear.
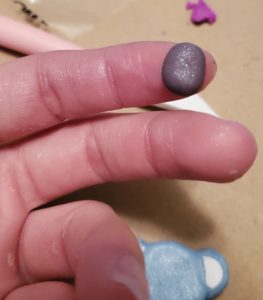
Step 5: Nose: Take the purple circle and lengthen it a little bit to make an oval, then press it down in the middle of his face.
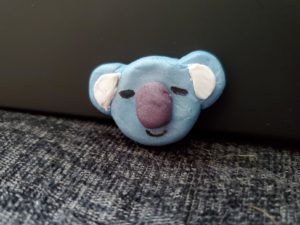
Step 6: Details: After it is either baked or air dried (which will depend on the clay), you can then add the details. Use a marker to draw the eyes and mouth on it.
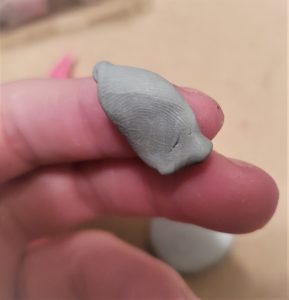
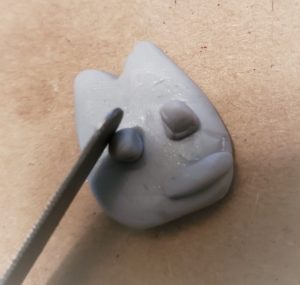
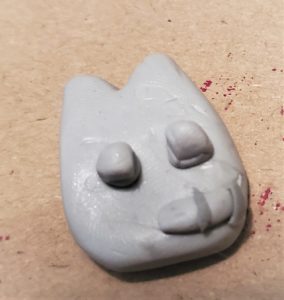
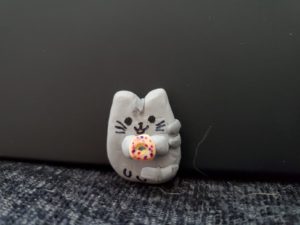
Pusheen
Step 1: Body: Roll out a big gray circle, then press it down and form it into a oval shape.

Step 2: Ears: Take your big circle and use a pen/pencil (or something round and similar in size) to press it into the middle of your oval to form two triangles. One on each side of the circle. You can use your fingers to form it a little better.
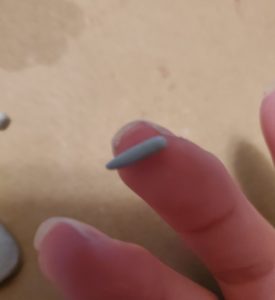
Step 3: Tail: Take some grey clay and roll it out long to make a tail and then press it down onto the body at the bottom towards the edge.

Step 4: Arms: Roll out two small grey circles, then form it into an oval shape. Stick the two arms in the middle of the body and use a knife to help attach the arms onto the body.
Step 5: Stripes: Mix some gray with a little black to make a darker grey (mixing directions are above). Then roll it out into a long narrow string. You will want to cut two strips for the tail, two for the side, and two for the top between the ears. Press the stripes down in each spot.
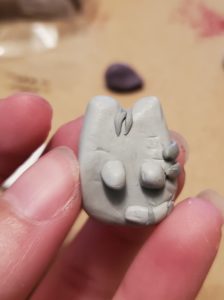
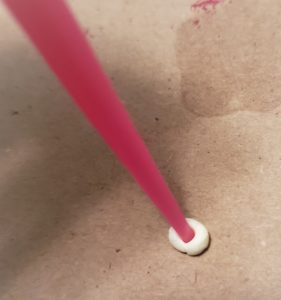
(Optional) Step 6: Donut: Roll out some light yellow or white clay long, then form a circle with it. You can use a pencil or pen to create a hole through the middle circle.
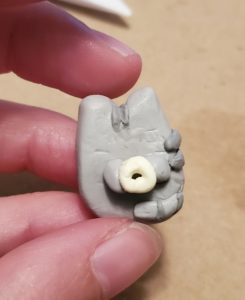
Step 7: Details: After it is either baked or air dried (which will depend on the clay you use), you can then add the details. Use a permanent marker to add the eyes, mouth, nose, whiskers, and feet. You can also use different colored markers to decorate your donut.
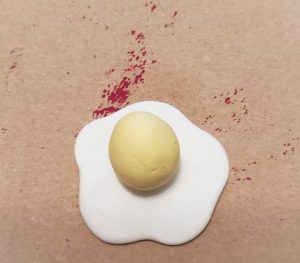
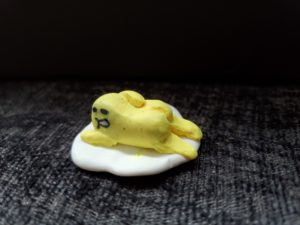
Gudetama
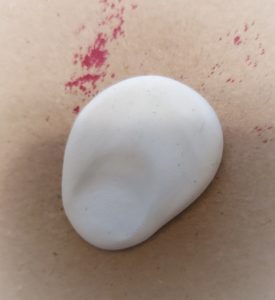
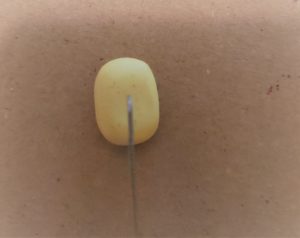
Step 1: Egg: Roll a ball of white clay. Then use your finger to push out the circle to create a flower looking shape.


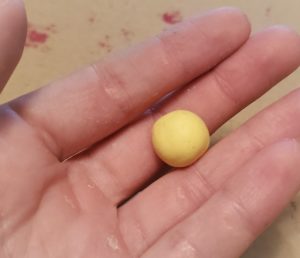
Step 2: Body: Roll a yellow circle and shape it into a slight oval shape.
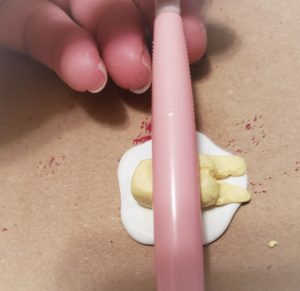
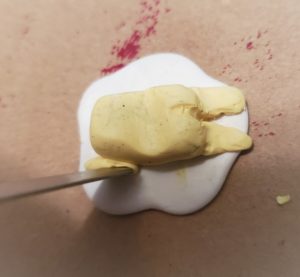
Step 3: Butt: Use a knife to create a line in the middle of the bottom of the body. Then use a pen or a similar shape to create an indent in the body so you have a curve to create the back.
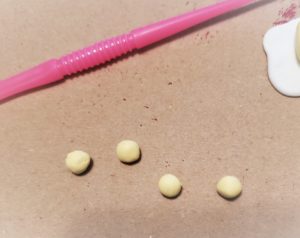
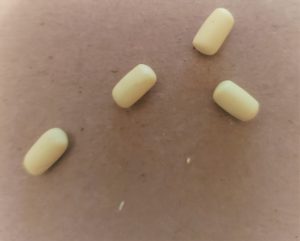
Step 4: Legs: Roll out four small yellow balls. Roll them out slightly long so they are more cylinder. Use a knife to attach the legs and smooth the legs onto the body.
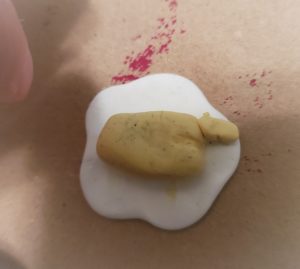
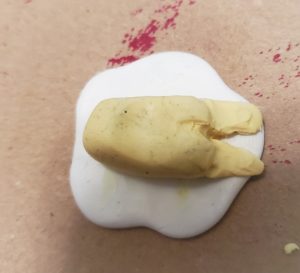
Step 5: Arms: Add the arms similarly to the way you added the legs. I added one arm towards the front and one on the back.
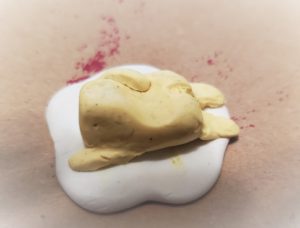
Step 6: Details: After it is either baked or air dried (which will depend on the clay you use), you can then add the details. Use a permanent marker to add the eyes and mouth.
Recommended Books
Making Clay Bead Craft
Complete a variety of fun craft projects using clay beads. Crafters practice reading comprehension as they follow the steps for each project.
The Craft-A-Day Book
30 Projects to Make with Recycled Materials Reduce, reuse, and recycle.
Craft Lab For Kids
52 DIY Projects to Inspire, Excite, and Empower Kids to Create Useful, Beautiful Handmade Goods
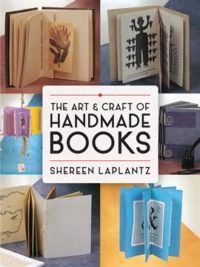
The Art And Craft Of Handmade Books
This innovative approach to bookbinding demonstrates an array of creative techniques that elevate handmade books into extraordinary works of art.
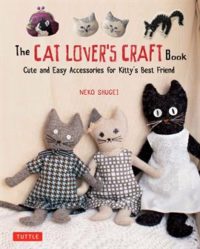
Cat Lover’s Craft Book
Unleash Your Inner Crazy Craft Lady! Here’s a cat there’s a cat, everywhere a crafted cat! Cats to decorate your home, to wear, or to give to someone you love.


