This blog is going to explain how you can make your personalized socks at home. This can be achieved by using heat transfer vinyl (cut with a cutting machine like a Cricut) or pre-cut letters with the saying of your choice. You can be as creative and fun as you want!
Materials required:
Ideal socks for personalizing purposes:
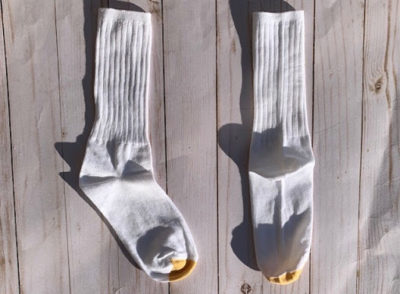
White, cotton socks would be ideal for personalizing socks. To add color, you have the option of tie dying the socks, using color heat transfer vinyl or colored, pre-cut letters. Should you decide that you want to use fuzzy socks, pre-wash them a couple of times to remove the lint so that the letters will stick better.
Decide on your sock saying:
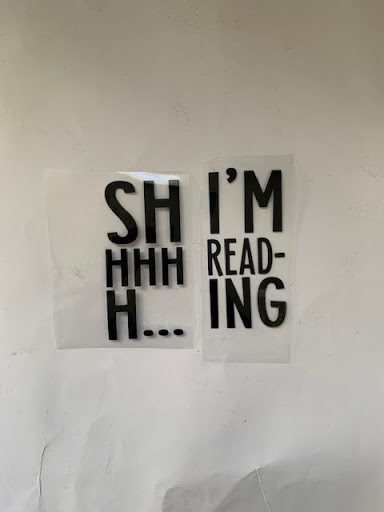
Select a saying for the bottom of your socks. Once you decide on the saying, you can use your Cricut cutting machine (or the machine of your choice) and create a file in Design Space. Print your design reversed on the heat transfer vinyl of your choice. If you are using pre-cut letters, pick the letters for your saying and set them aside.
Pressing the letters on the socks using a heat press:
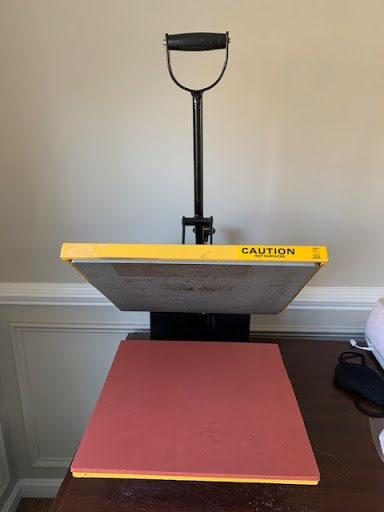
If using a heat press to press your decal, pre-heat the heat press to 350 degrees. Place your letters on the sock. Make sure you avoid the sides of the socks and the heel area. Place parchment paper or a towel over the letters on the socks. Press the design with the heat press for 30 seconds. Wait until the vinyl cools and peel the liner.
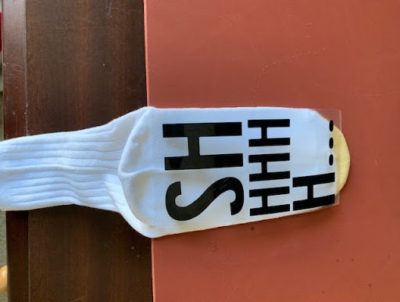
Pressing the letters on the socks using a household iron:
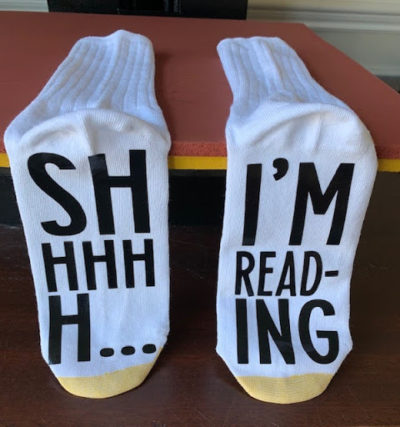
Preheat your iron on the cotton setting. Insert cardboard inside the sock. Preheat the sock for a couple of seconds. Place the pre cut letters on the sock in the position you desire (avoid the heel and sides of the sock). Place the parchment paper (or towel) over the sock design. Press the design with the iron applying pressure for about 45 seconds. Remove the cardboard.
Pressing the letters on the socks using a household iron:
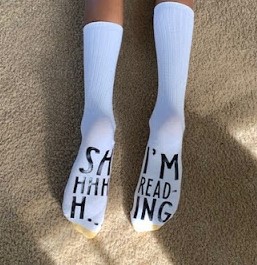
Enjoy your newly designed socks while reading your favorite book!


