Materials Needed:
Directions:
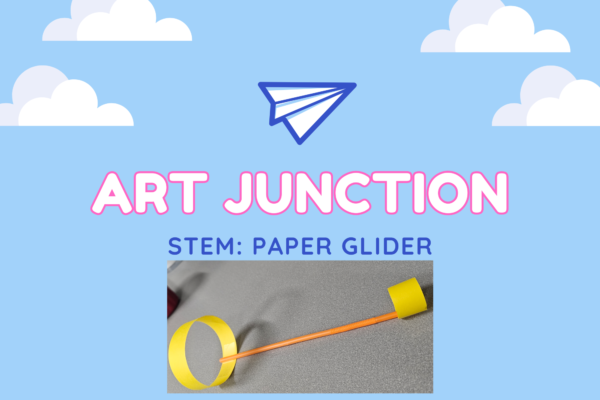
Calling all future pilots! Looking at the image above, write down some hypotheses about whether this object (that we will learn to make) will fly or fall. A hypothesis is an educated guess on how the outcome will turn out. Learn about some fundamentals of flight here on Kanopy Kids. There are many ways to make paper airplanes and gliders. Explore other ways to make gliders on Novelist Plus. You can even perhaps test the speed. How high does it hover above ground? And, the size of the object can factor in too. Lastly, check out COSMOS for building all sorts of fun aviator projects.
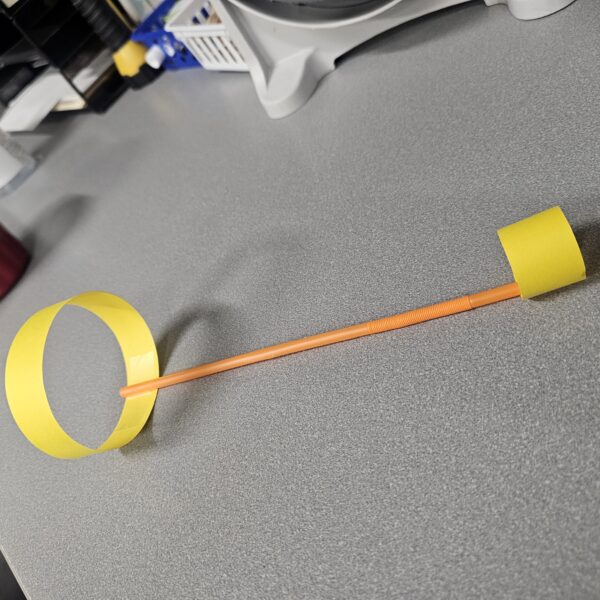
Step 1: Using your pencil and ruler, measure and cut two strips of paper. The first one should measure 8.5” by 1”, and the second one should be cut to 4.25” by 1”.
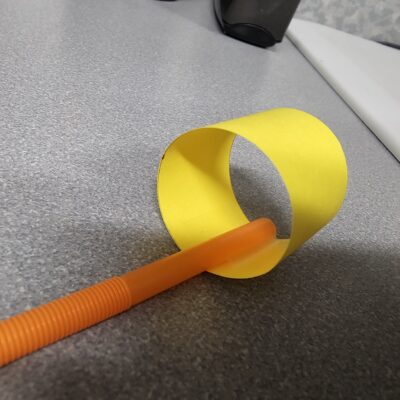
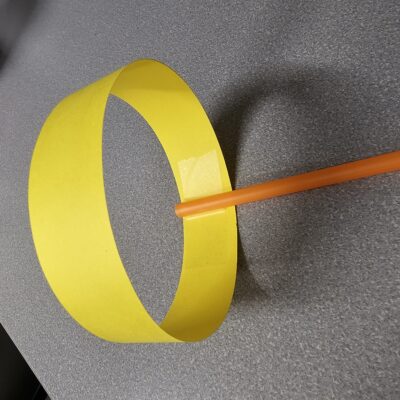
Step 2: Tape the ends of each strip together to make two circles – one large and one small.
