
Learn how to make your own faux stained glass at home using easy-to-find materials!
Materials
Creating the Leading Lines
- 1Obtain a piece of glass or plexiglass.
- 2Choose a design. You can draw something yourself or print out a coloring sheet that you can follow. Place your outline under the glass.
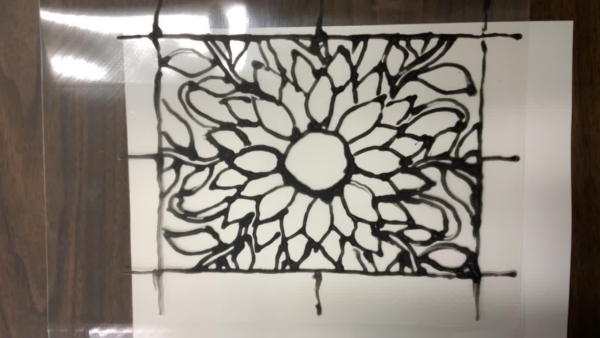
- 3Create the “leading lines.” Pour black acrylic paint into a liquid school glue bottle (such as Elmer’s). Close the cap and mix the paint into the glue by shaking the bottle. It helps if the bottle is not filled to the top with glue so you have room to add the paint.
- 4Squirt the glue onto the glass, following the outline underneath.
- 5Allow the glue/paint mixture to dry for 24 hours.

Painting the Stained Glass
- 1Prepare your art surface by laying something like old newspaper over the table to keep it clean.
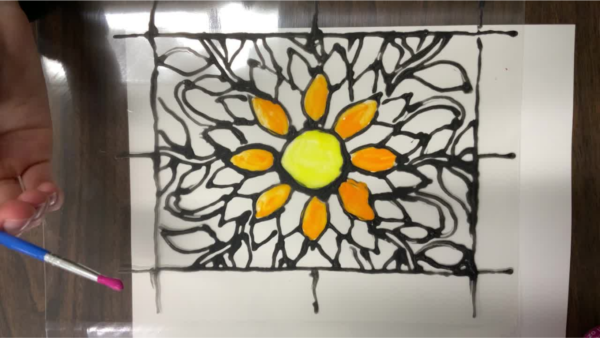
- 2Pick a color of acrylic paint. Mix it with the clear liquid glue on a disposable plate or bowl. Add more paint to the mixture for less transparency or more glue for more transparency.
- 3Use this mixture to begin coloring in the glass (on the side with the raised outline)
- 4Keep mixing paint and glue and then painting until the whole glass is painted the way you want it.
- 5Allow to dry.
- 6If you accidentally painted over some of the “leading lines,” you can use a black permanent marker to color over the paint and restore the outline.
- 7Display your masterpiece in a window!

Additional Resources
Learn more about stained glass and how to make it:


