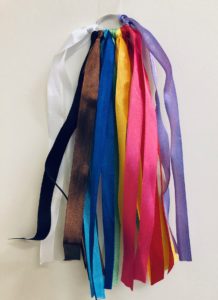
In honor of Pride month, let’s craft a DIY rainbow accessory. This is one of the crafts that we do for Rainbow Craft Night at Waldorf West. It was inspired by a blog post I found online. This DIY project can easily be customized.
Supplies:
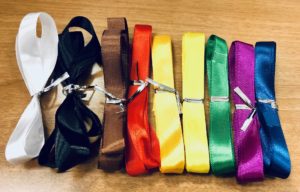
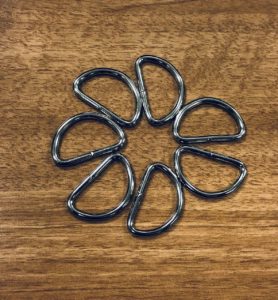
Step One: Cut to size
Decide how long you want your streamer to be. Measure out each piece or ribbon or yarn and cut them to size. You want it long enough to fold in half and pull through the ring.. I usually use my first piece to measure out the rest. You can also trim them at the end.
Step 2: Adding your ribbons
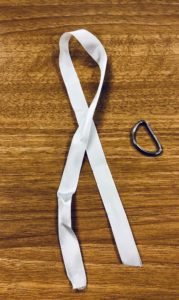
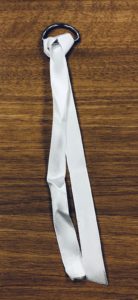
Decide what order you want your ribbons to appear on the metal ring. Fold your ribbon in half and pull the top loop through the ring. Pull the tails through the loop, so that it creates a knot around the ring. Repeat this step until you have added all of the ribbons.
Step 3: Finishing Touches
Once your rainbow streamer is complete feel free to trim the ends. If you have clear nail polish lightly coat the ends of the ribbons or yarn to prevent them from fraying.
